
I love the look of Roman Shades for window treatments. They are simple, with clean lines and look great in a basically any room of the house. Since they do not hang down past the window sill, they are a great fit for windows that have furniture in front of them. One downside of a Roman Shade is their price. So why not make one! After a little internet browsing, I found a great YouTube video with step by step instructions of one way to make a Roman Shade. I recommend watching the video through to get an idea of the whole process. Then refer to video for each step as you go. I had to watch the video many times throughout the process of making my Roman Shades.
Sailrite sells all the hardware necessary to make a Roman Shade as well. I tried to find many of the parts at the local craft and hardware stores, but didn't find them all. So I bought most of the parts from Sailrite and found the prices to be very reasonable as well.
Check out the store: Sailrite Curtain Hardware
MATERIALS LIST:
Decorative fabric
Drapery lining fabric
Heavy Duty Thread (for high UVR areas)
Wood dowels (or plastic)
Metal dowel rod
Velcro Hook & Loop 1"
Sew on rings for roman shades
Screw eyes
Leechline 5/64"
Plastic Lift cord condenser
Screws
Wooden 2" x 2"
TOOLS:
Sewing machine
Tape measure, yard stick, scissors, pencil
Multi-use pins
Tear Mender or Gem-tac glue
Hand needles
Staple gun/ staples
Drill & bit
Screw driver
To figure out how much decorative & drapery fabric needed, use the following formula:
Decorative Fabric:
Raw width = Finished width + 2" + 1"
Raw length = Finished length + 8"
Lining Fabric:
Lining width = Finished width -1"
Lining length = Raw length


I used canvas for my roman shades- pick out a fabric that is a little stiffer (but not too heavy/ thick). I used muslin for my hall roman shade, and a black out drapery lining for the bedroom shade.
STEP 2) Add drapery lining
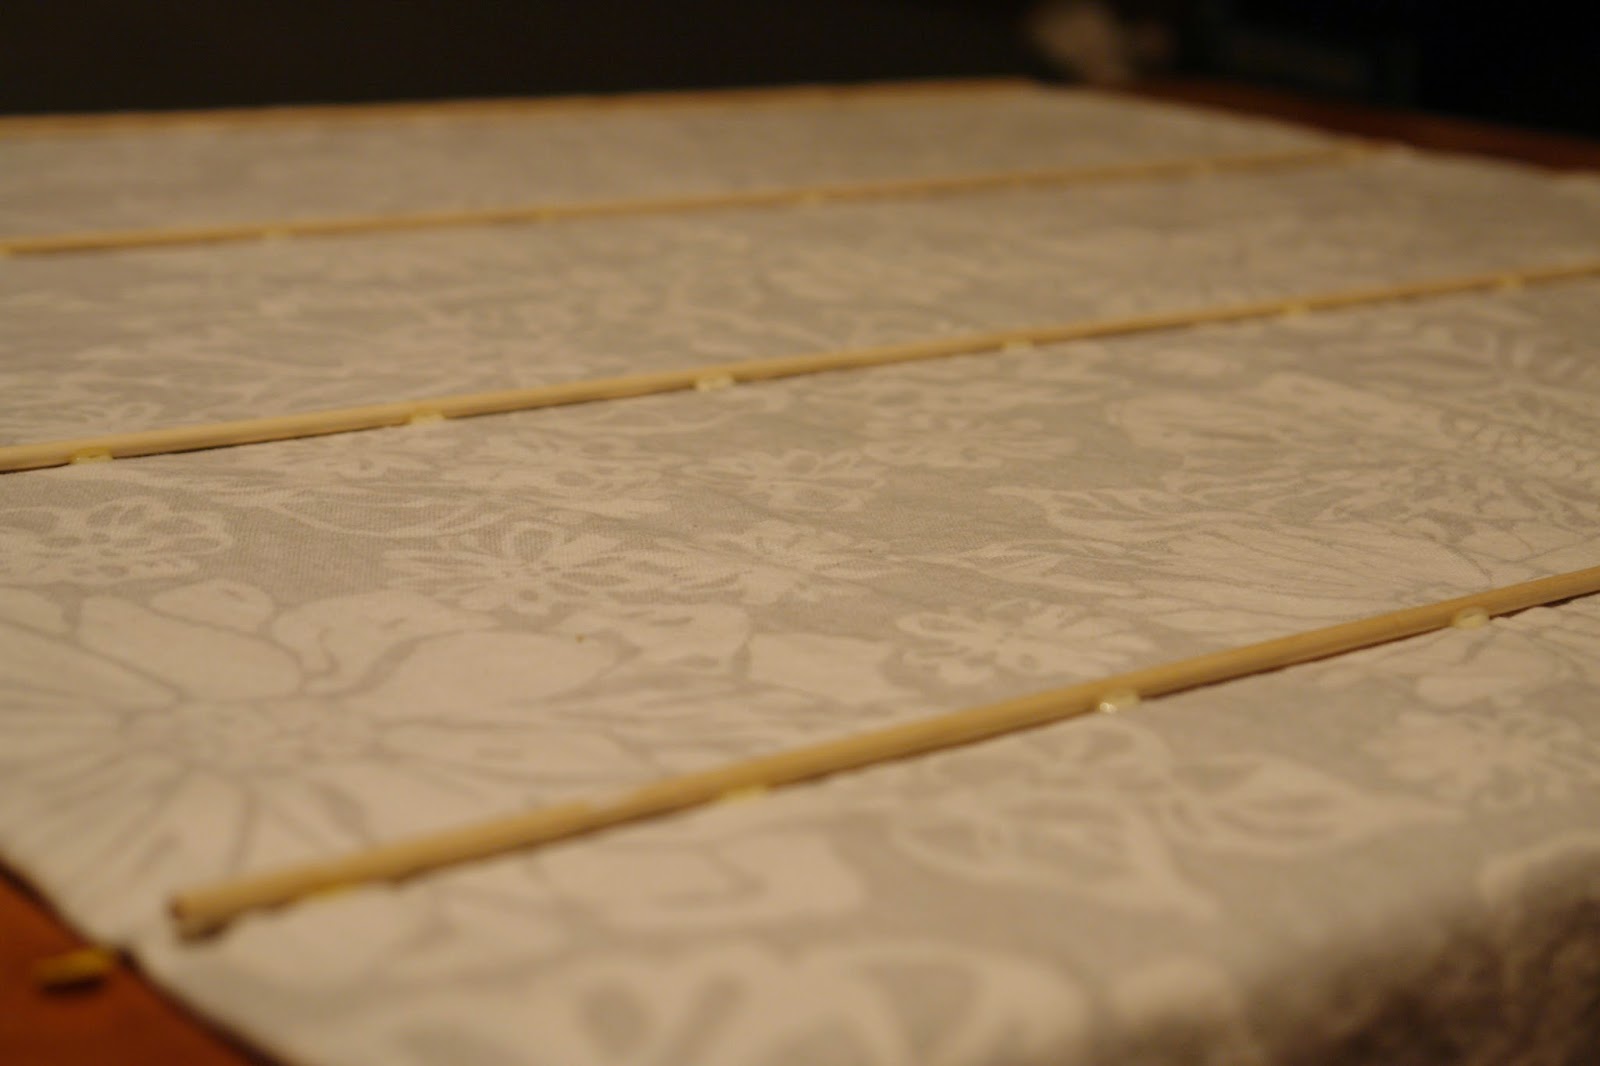
STEP 3) Secure dowels
Be sure to test the Tear Mend on your fabric and see if it bleeds through. I learned the hard way, and when glue was dry a yellow stain was visible on the finished side. The second shade I made, I made sure to apply smaller drops of glue on the dark parts of the pattern. This solved the staining issue.
Refer to Sailrite video to for formula to determine the width of segments (how far apart to secure dowels).
STEP 4) Sew bottom hem
The technique cleverly creates a pocket for the metal dowel to be added later
STEP 5) Finish top edge
Sailrite sells their 1" hook & loop for a great price! You order the hook & loop parts separate.
 |
| The finished bottom edge, back of shade & attached headrail |
STEP 6) Attach rings
Sew ring to shade at every other dowel.
STEP 7) Build the headrail
I used some of the decorative fabric and the lining fabric to cover my headrails. The lining fabric on top, allowing a faint image of the decorative fabric to show through.
STEP 8) Install curtain hardware

 |
| Rings attached & leechline threaded |
Lady Genevieve's new Roman Shade!


These instructions are taken straight from Sailrite's How To Make a Roman Shade video. This post is primarily a quick reference for the basic steps to making this style roman shade. The video demonstrates each step in detail, and is a great tutorial for making a quality Roman Shade! I am very pleased with the 2 I have made so far. I plan to make 3 more for our great room.
No comments:
Post a Comment